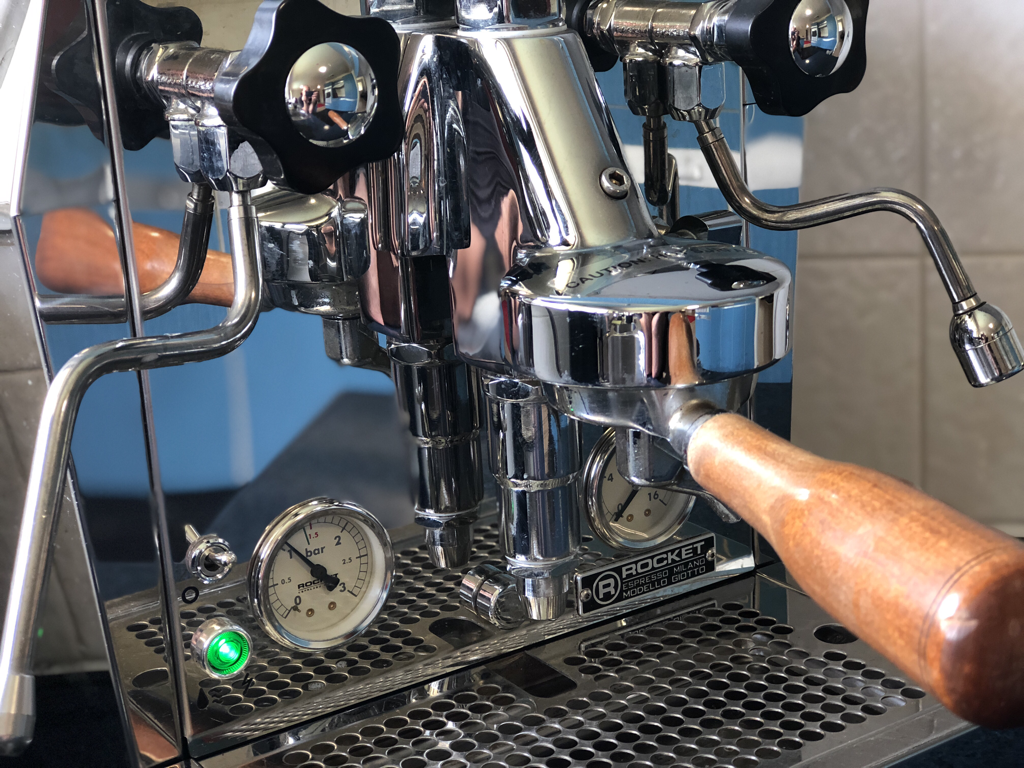
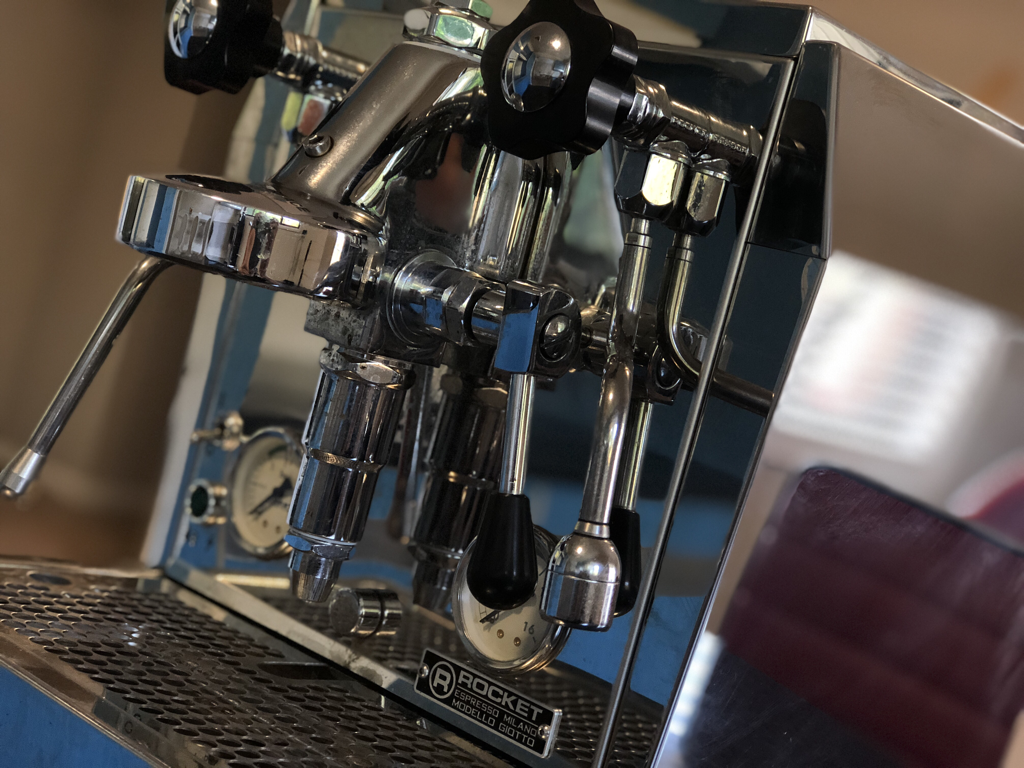
I am the very proud Owner of a Giotto Rocket Premium Plus which replaced my earlier version of this same machine in 2013, the Premium (3 versions earlier model). It’s a classic Italian design using a commercial e61 group with gauges for both boiler pressure and extraction pressure. It’s fairly simple and straight forward internally and each new version of the Rocket range carries over much of the preceding design but adds some features. This model added an insulated boiler, plus a second gauge and new materials, and the following model added a PID controller.
This morning, I walked up to the machine, but the machine was cold. Everything appeared ok, as in the green light was on, but there was no boiler temperature and that was indicated on the left hand gauge. If I hadn’t noticed that, I would likely have attempted to extract my morning coffee and received a cold cup!
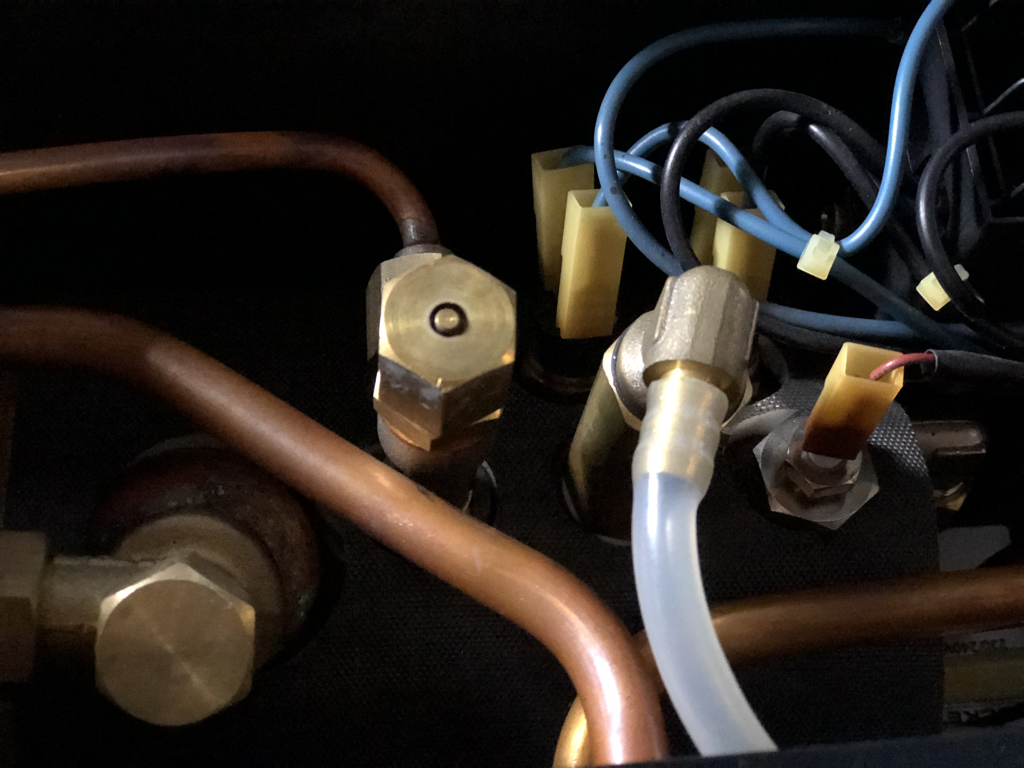
After removing the top cover held in place with 4 small Phillips head screws and then removing the right hand side cover held on with 4x 7mm hex bolts, I was able to inspect and test the components with the power cord disconnected.
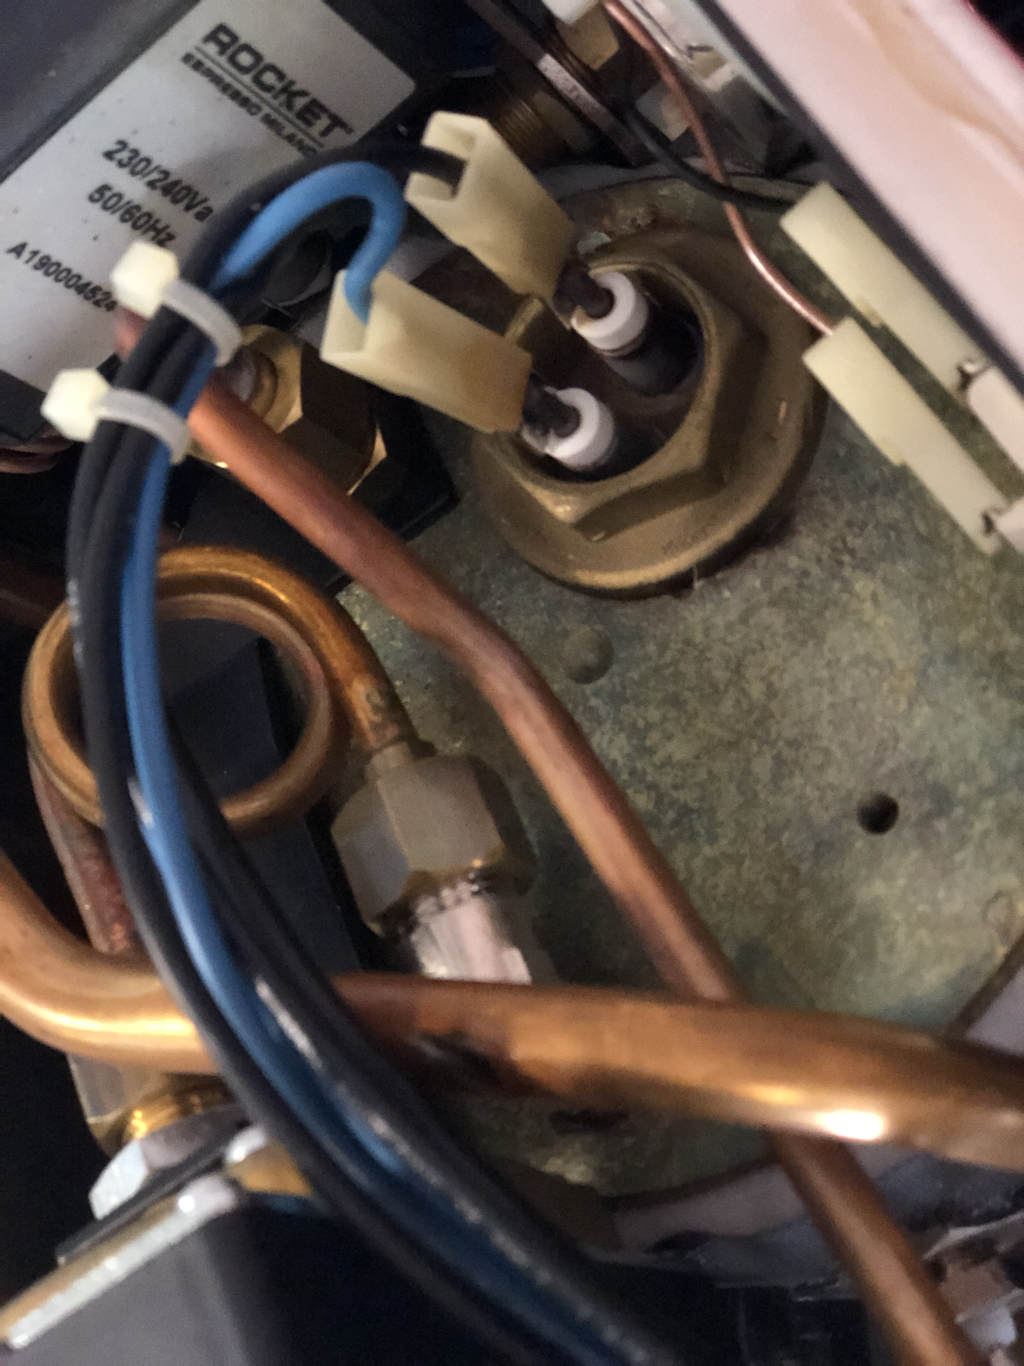
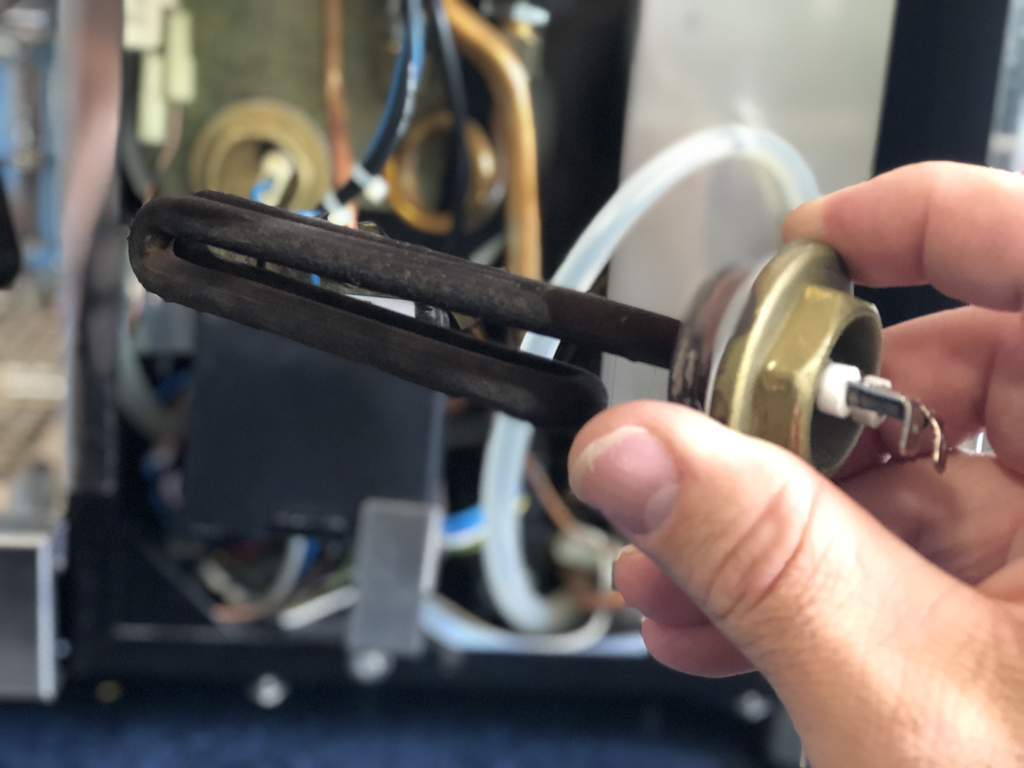
Found the culprit! The heater element measured as open on the multimeter. A good Heating Element for 230v 1200w is 49ohms. An open circuit is just like a blown light globe. Getting the old Heating Element out is not an easy task, a spanner won’t fit in that restricted space and the terminal prongs interfere with a standard 27mm socket, so a long reach socket is required.
At this stage I chose to lay the machine on its left side so the heater Element is facing up. It eliminates the flood of water that would come from removing the heater Element with the boiler at operating water capacity. It’s still a good idea to be aware of water that can evacuate from the bleed valve or the group if that valve is opened in error, which is easy to do.
After removing the connections from the terminals, breaking the initial bond with the socket and driver is somewhat difficult, but once that has been achieved, unscrewing the Heating Element is pretty straight forward. Reinstalling the new Element is the reverse process - particular attention should be paid to the seal around the boiler to the Teflon gasket and the Teflon gasket to the Element, especially at operating pressures.
I chose to keep the Element connectors unplugged after a test run, to allow the boiler water capacity to recharge so the Element is not exposed to the air (low water situation) on the fist power up. After I was satisfied the boiler was full, I cut power, reconnected the terminals and refit the panels.
It was time to go over the machine, install a new group head seal, clean the group head and portafilter with espresso machine cleaner and back flushing.
Mission accomplished!
Mission accomplished!
 RSS Feed
